DIY Mechanical Keyboard Switch CW Key
DIY Mechanical Keyboard Switch CW Key
Amateur radio operators are always looking for ways to personalize their station equipment, and one of the most personal pieces of gear is the CW (Morse code) key. In this guide, I’ll show you how to build a custom CW key using mechanical keyboard switches, creating a unique blend of modern keyboard technology and traditional amateur radio.
Parts List
- 2× Mechanical keyboard switches (I recommend Cherry MX Blue or similar clicky switches)
- 1× 3.5mm female audio jack (stereo TRS)
- Wire for internal connections
- 3D printed enclosure (STL files provided below)
- Solder and soldering iron
3D Printing Instructions
-
Download the STL files from Printables:
- Base enclosure
- Cover/lid
- Base Stand Mount(Optional)
- Travel Case(Optional)
-
Print Settings:
- Layer Height: 0.2mm
- Infill: 20%
- Support: No supports needed if your printer can bridge small areas effectively for the main body of the enclosure. The travel case will need supports - print the travel case large side down.
- Material: PLA or PETG
- Orientation: Print with the flat enclosed end down, standing up. the top should be open when oriented correctly on the print bed.
Assembly Steps
-
Prepare the Switches
- Solder one 2” wire to each of the legs of the keyboard switches, 2 per switch for a total of four wires.
-
Wire the Circuit
- You will have to push the wires through the enclosure before you wire up the aux female jack. Snap the keys into place once you have done so.
- Solder one wire from each switch to the left and right leg of the aux female jack.
- Solder the remaining wire from each switch to the center leg of the aux female jack, together.
-
Final Assembly
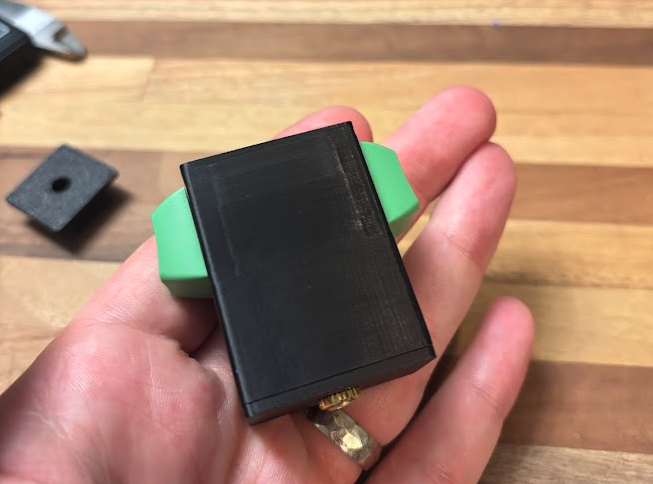
- Plug into your radio to make sure it works before final assembly. Once the lid is installed, it won’t be so easy to dissasemble.
- Attach the female aux jack to the 3d printed lid part. use the ring it comes with to secure the auck jack to the lid.
- Press fit the lid into the enclosure. There should be plenty of room in the case for the wires.
- Attach the top cover using M3 screws
- Add rubber feet to the bottom (optional)
Optional Accessories
Magnetic Desktop Base
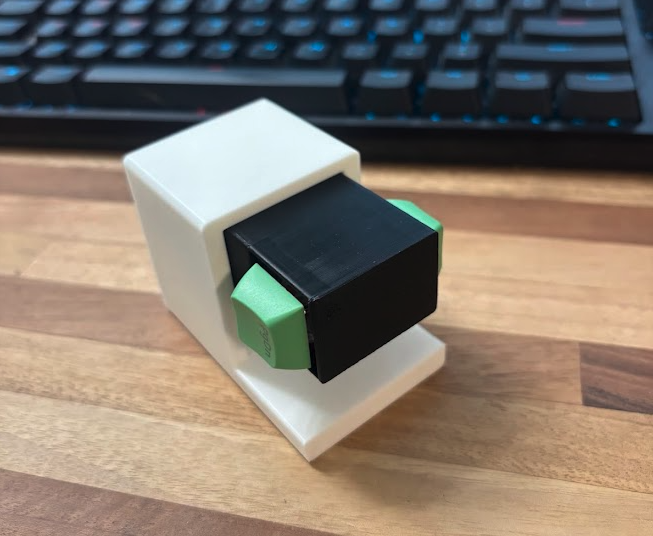
For stable desktop operation, I’ve designed an optional magnetic base that:
- Provides a solid, non-slip platform using magnets
- Adds perfect operating height for desk use
- Includes cable management channel
Travel Case

Keep your key protected on the go with this custom travel case:
- Perfectly fitted to the key dimensions
- Compact design for portable operation and transport